
Pump curves
A pump curve defines what the pump does. SWMM has five types, and they differ in what drives the flow. All five are supported.
The five types
Section titled “The five types”| Type | X axis | Y axis | Use for |
|---|---|---|---|
| 1 | Wet-well volume | Flow | Fixed-speed pump with stepwise volume control |
| 2 | Inlet node depth | Flow | Fixed-speed pump with stepwise depth control |
| 3 | Head difference | Flow | The manufacturer’s head-flow curve. Standard centrifugal pump |
| 4 | Inlet node depth | Flow | Variable-speed pump, flow varying continuously with depth |
| 5 | Head difference | Flow | Variable-speed pump using affinity laws under control rules |
Type 3 is the usual choice. It is the curve a pump manufacturer gives you, and it is what a centrifugal pump physically does: flow falls as the head it works against rises.
Ideal pumps
Section titled “Ideal pumps”Leaving the curve field blank, or as *, defines an ideal pump: discharge instantly
matches inflow, regardless of head or depth. There is no curve at all.
That is genuinely useful for early-stage modelling, when you know a pumping station exists but not which pump is in it. In the curve picker this appears as (none · ideal pump).
Creating one
Section titled “Creating one”Select the pump, open Properties, and use the Pump Curve dropdown. Choose an existing curve, or + New curve… to create one - which makes a Type 3 curve by default and opens the editor. Change the type there if you need a different one.
Axis labels follow your model’s unit system, so a metric model asks for m and LPS rather than feet and CFS.
Entering the curve
Section titled “Entering the curve”Type the points in, or paste from a spreadsheet. Enter enough points to capture the shape, including the shut-off head (zero flow) and the run-out point.
Controls
Section titled “Controls”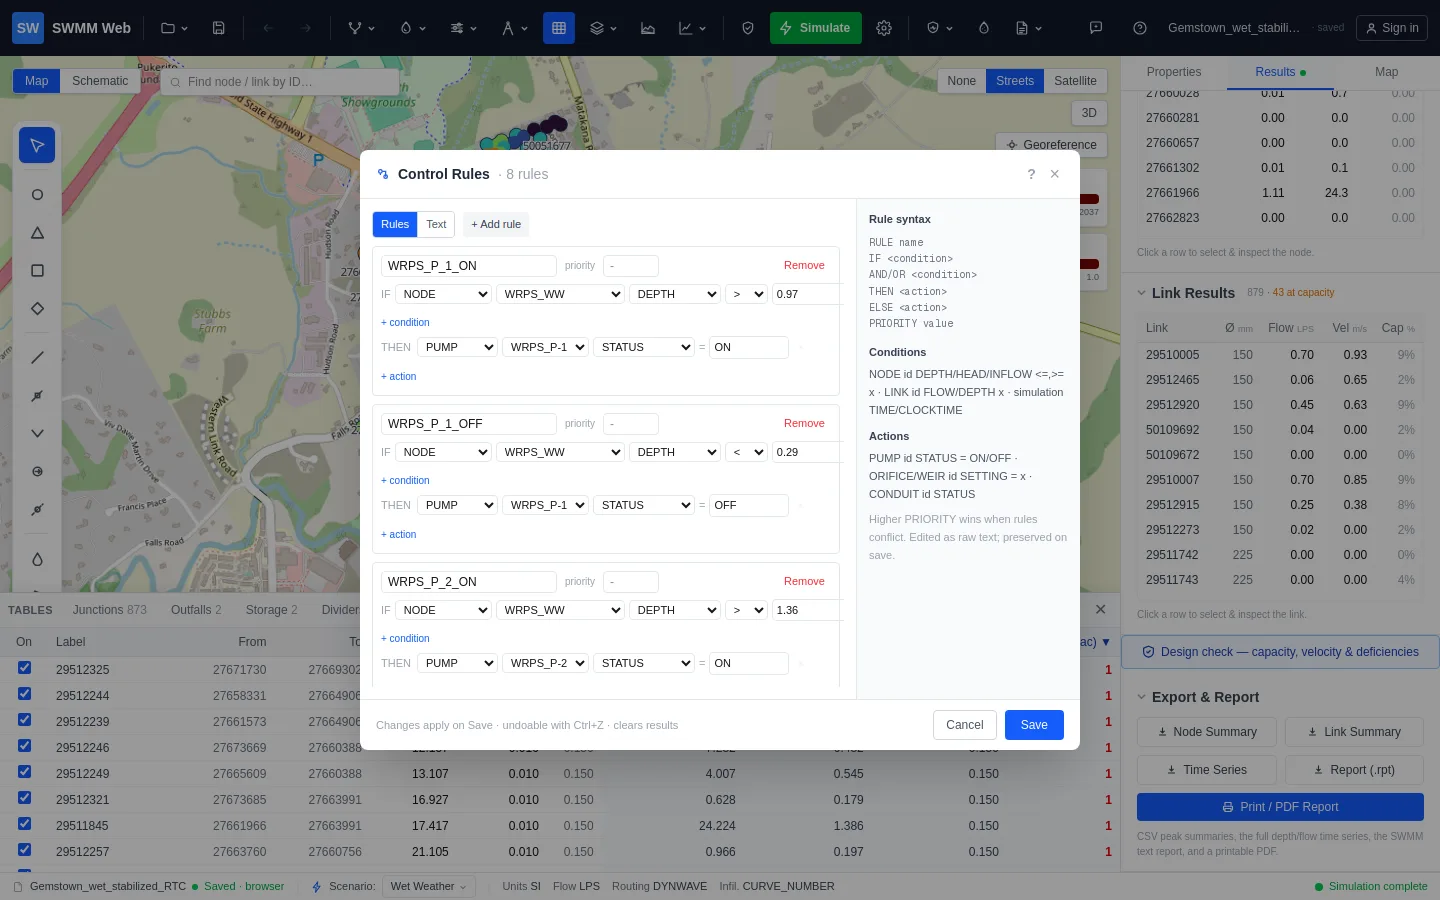
Pumps also need to know when to run. Startup and shutoff depths are pump properties, and more complex logic goes in rule-based controls - which is also where Type 5 variable-speed pumps get their speed setting.